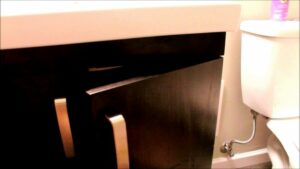
The IKEA toe kick is made of plastic and installs with the clips provided in the cabinet leg package. The toe kick is 4.5″ tall and has a marking for you to rip it down to 4″. You will need a hand saw or power saw to cut the toe kick. The bottom of the toe kick has a “squeegee” seal. The toe kick comes with end plates to cover exposed edges and a piece of plastic that inserts in the end to join the toe kick with another piece of toe kick.
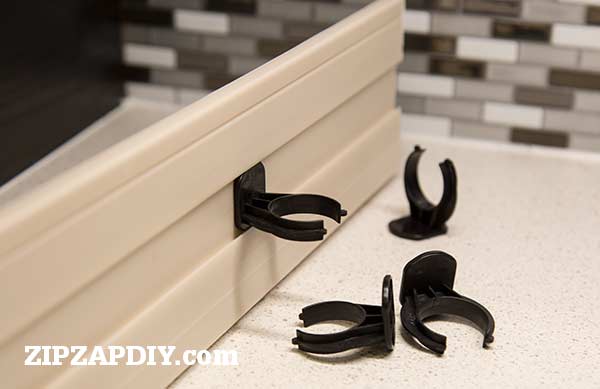
To install the toe kick, take the clips that came with the legs, set them in the channel on back of the toe kick and twist them, line them up with the cabinet legs and then the toe kick simply snaps onto the IKEA cabinet legs , there are no screws or other fasteners. To remove the toe kick, simply pull it off!
The IKEA toe kick gap should be 4.5″, if you need a little extra room you can twist the legs to raise or lower them, but keep in mind that this will mess with you cabinet height and possible the leveling of your cabinet.
Tools & Supplies Needed to Install the Toe Kick:
- Masking Tape to mark measurements on the toe kick
- Pencil to make measurement marks
- Speed square to help you make marks: http://amzn.to/2fcxcWq
- Saw, either hand saw or power saw to cut the toe kick.
Things to think about when installing the toe kick:
- If you have a long section of cabinet that needs multiple pieces, try and make the joint at factory edges.
- It is very easy to install, measuring and cutting is the “hard” part, so measure twice and cut once!
- If you need to make an inside or outside corner, the clips are offset so you can install one up and one down, allowing you to attach to the same cabinet leg.